
How to prepare your logo for printing and embroidery
Send the best original artwork you have, the intended physical size and the product it will go on. A clear brief often prevents more problems than changing the file extension.
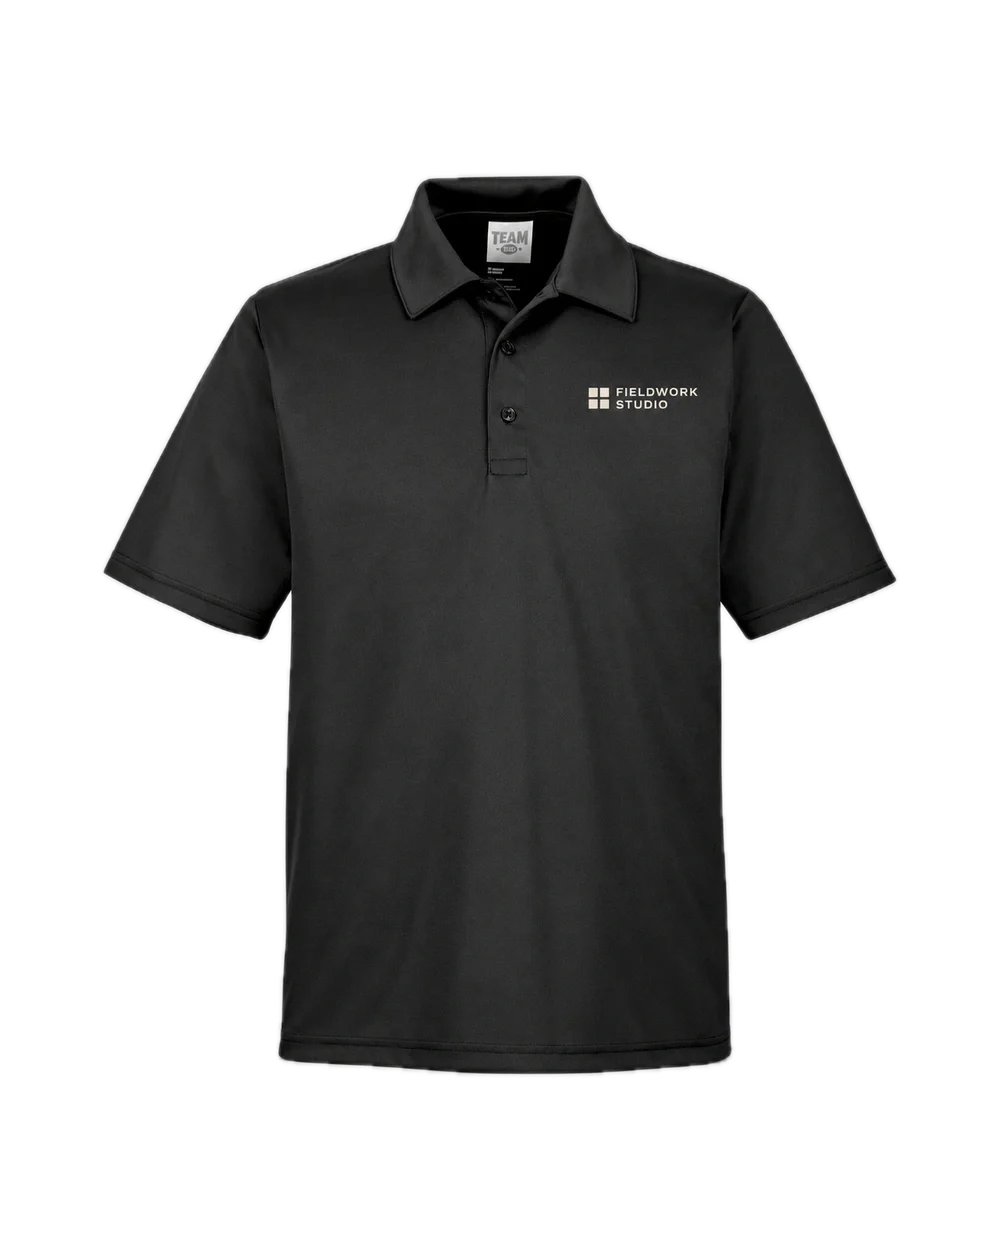
Start with the original, not a screenshot
Ask your designer for the original vector logo when available. Vector artwork describes shapes and can be resized without the pixel grid of a photo. A PDF can contain vector artwork, raster images or both; its extension alone does not prove it is print-ready.
Use the upload formats accepted by the form. If you have a source format the form does not accept, tell the studio what you have through support. Do not rename a file extension to make it upload. Keep an editable original for future changes.
Resolution only makes sense at the finished size
For a raster print file, 300 pixels per inch at the intended size is a useful preparation target. A 10-inch-wide design at that resolution is 3,000 pixels wide. Changing a resolution label without adding real image detail does not sharpen a small screenshot.
Give the finished width and height in inches. If you only have a small file, send it for assessment before paying for production. Simple logos may be redrawn; detailed photographs cannot always be recovered.
Check backgrounds, spelling and spacing
Use a transparent background when the surrounding rectangle should not print. A white background in a JPEG is still part of the image. Look at the design against the intended garment color before approval.
Confirm phone numbers, web addresses, punctuation and every staff name. Review the smallest letters at their actual output size. Very fine lines and soft transparent edges may need adjustment for the selected production method.
Embroidery digitizing is a separate step
A print-ready logo is not automatically an embroidery file. Digitizing defines how the design is stitched, including stitch direction and construction. Thread, garment and final size affect the result.
Send the logo, target size, garment and placement. If you already have an embroidery file, identify it and the item it was prepared for. A file made for one size or surface may need changes for another. We review it before deciding whether existing setup can be reused.
Use the proof as a checklist
Check the exact product, color, design size, placement, spelling and quantities. Screen color is only a guide; ask about a physical reference if a brand color must be closely matched.
Keep one approved version of the logo and a record of the finished specification. Reorders are easier when everyone refers to the same artwork rather than sending a new screenshot from an old email.
Your order checklist
- Original artwork, with permission to reproduce it.
- Finished dimensions and garment or material color.
- Exact wording and placement for each side.
- A single approver for the final proof.
Put it into practice
Sources & further reading
- Transfer Express: print-ready artwork and resolution
- Transfer Express: artwork guidelines
- Madeira: digitizing and stitch density
Prepared for Mile High Custom Prints customers using the references above and our ordering policies. Manufacturer guidance describes its own materials and processes. Your confirmed product specification, proof and supplied care instructions govern your order.